If you’re learning or correcting a one-handed backhand tennis stroke, then it’s important to have a clear mental image coming from a simple technical foundation.
If your mental image and movements are too complex, then you will find it very difficult to execute the one-handed backhand correctly in the short amounts of time that tennis ball exchanges last.
The following tutorial shows you progressions for learning a simple technical foundation of the one-handed backhand in just 3.5 steps (I’ll explain the extra “half” step below).
Once you have a simple technical foundation and your backhand stroke is consistent, then you can add more complex movements to it for extra power and ability to spin the ball.
Step 1 – Finding The One-Handed Backhand Grip Naturally
While there are many theoretical instructions on how to find the right grip, we’ll start this one-handed backhand tutorial with a simple method for finding the right grip naturally.
Stand with your feet parallel and shoulder-width apart. Extend your non-dominant arm forward while holding the racket by its throat and keeping it perpendicular to the ground.

One of the ways of finding the one-handed backhand grip naturally based on feel.
If you now place your hitting arm on top of the handle comfortably, you will naturally find the right one-handed backhand grip.
That should be your foundation for the grip, but later on you can adjust by a degree or two based on your feel.
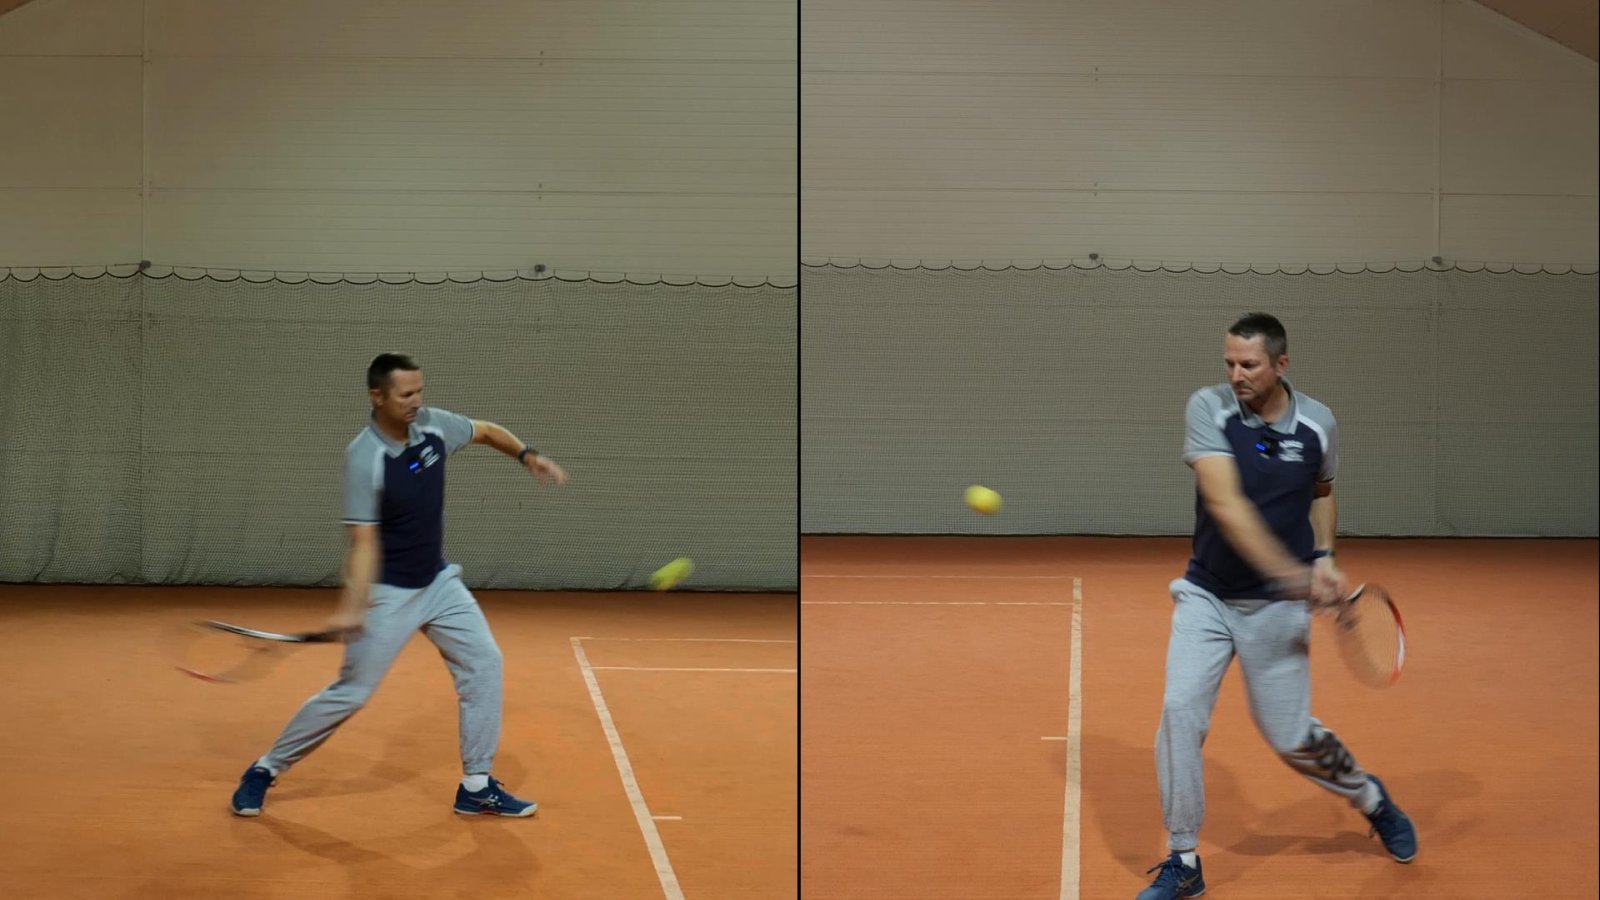
Step 2 – Preparation With Unit Turn And Weight Shift
In the second step, you simply to need to turn to the side and not do anything with your arms.
Don’t lift the racket or pull it more backward. Just keep it at the same level/height from step 1.

Really just turn and keep your arms in the exact same relation to the body as they were initially.
Also make sure that the weight shifts naturally to the outside leg (left leg for right-handers), which means that you’ll have very little weight on the right leg and your heel will be off the ground.
Your hips should also turn partially to the side.

Make sure your weight shifts like this and that your heel is off the ground.
You should wait in this position and not step forward yet because you want to feel the coiling effect in your body.
You should feel some tension in your core and pelvis region, where the muscles are being stretched because of the body turn.
When you feel which muscles are stretched, you can then focus on those muscles to engage them and uncoil as you initiate the stroke forward.
If you immediately stepped forward while turning the body, you would have not created any coiling in the body.
While a skilled player sometimes has to step forward immediately, they still know how to uncoil using the right muscles. However, beginners and intermediate players will likely execute the one-handed backhand incorrectly.
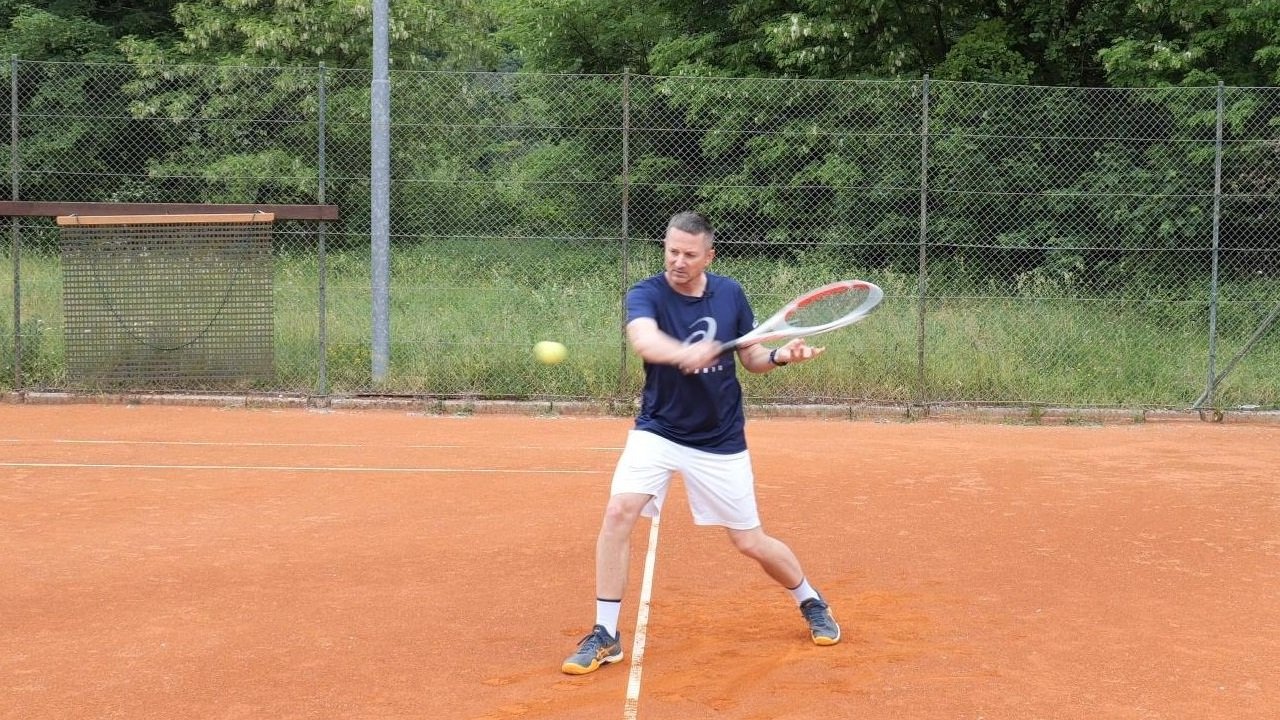
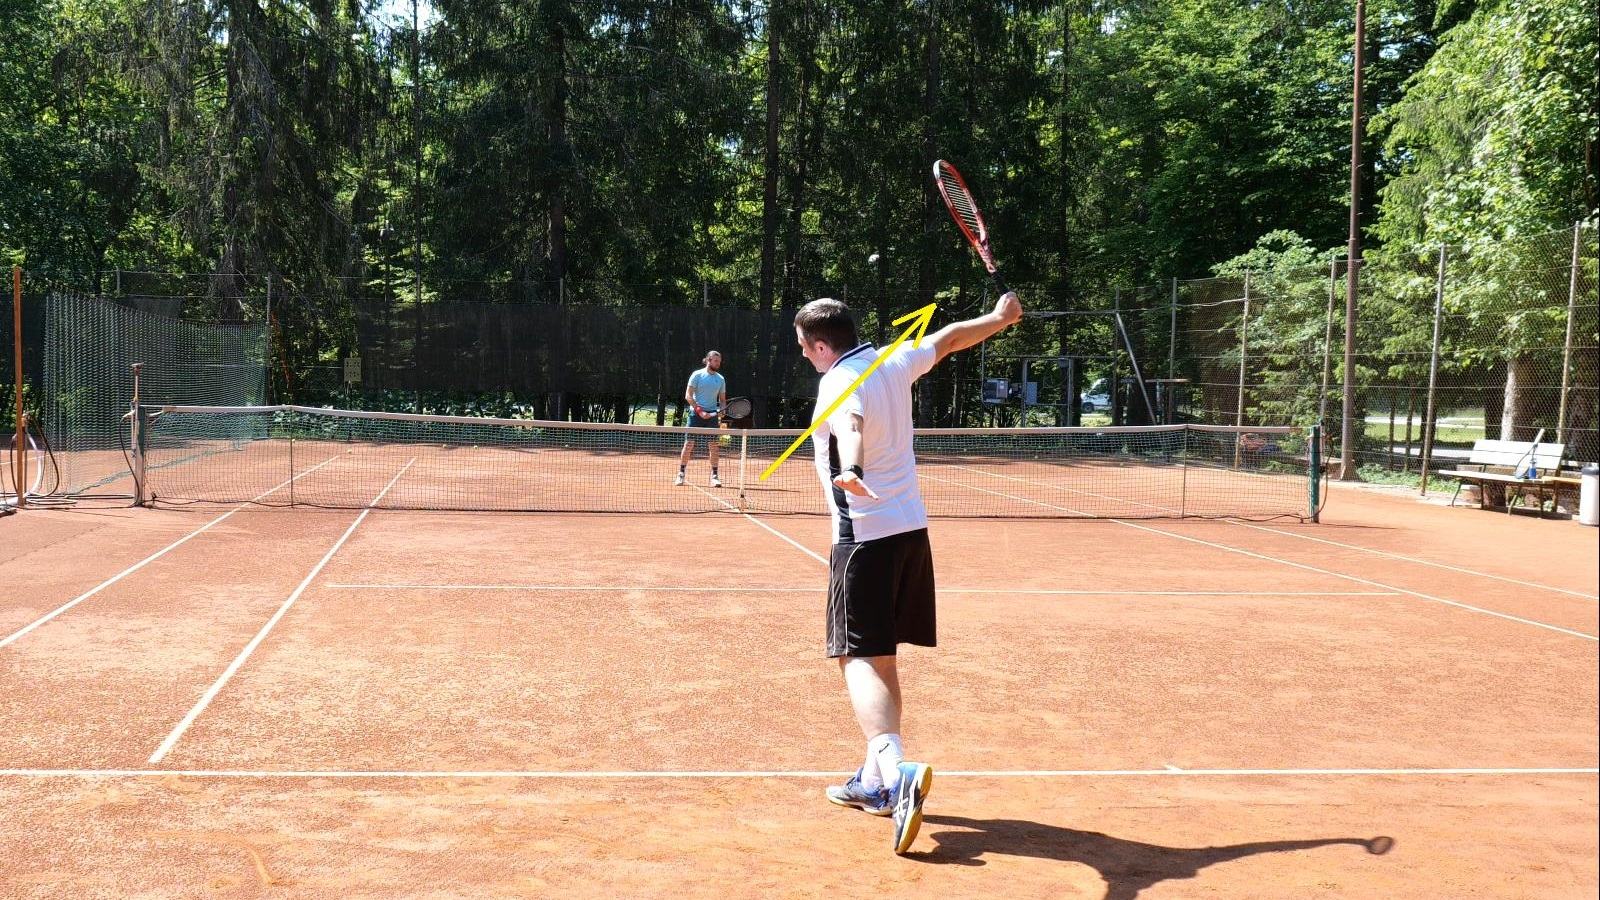
Step 3.5 – Step Forward And Follow-Through
Now you can see why the final step is actually a step and a half. You can’t just execute one move.
Instead, you need to connect two moves together – the step forward and the swing toward the ball, which ends with the follow-through.

In the last stage you need to connect the step forward, the hit and the follow-through in one smooth sequence.
The only guideline related to the step forward is that your foot should be pointing roughly toward the contact point with the ball.
Do not step forward before your coach or partner throws you the ball. Depending on how far away they stand, you’ll need to figure out the timing of your forward step so that you feel good weight transfer into the ball.
If you step too early, you’ll lose the forward momentum and lose power. If you step too late, there won’t be much weight transfer in the ball and you’ll again hit a weak one-handed backhand.
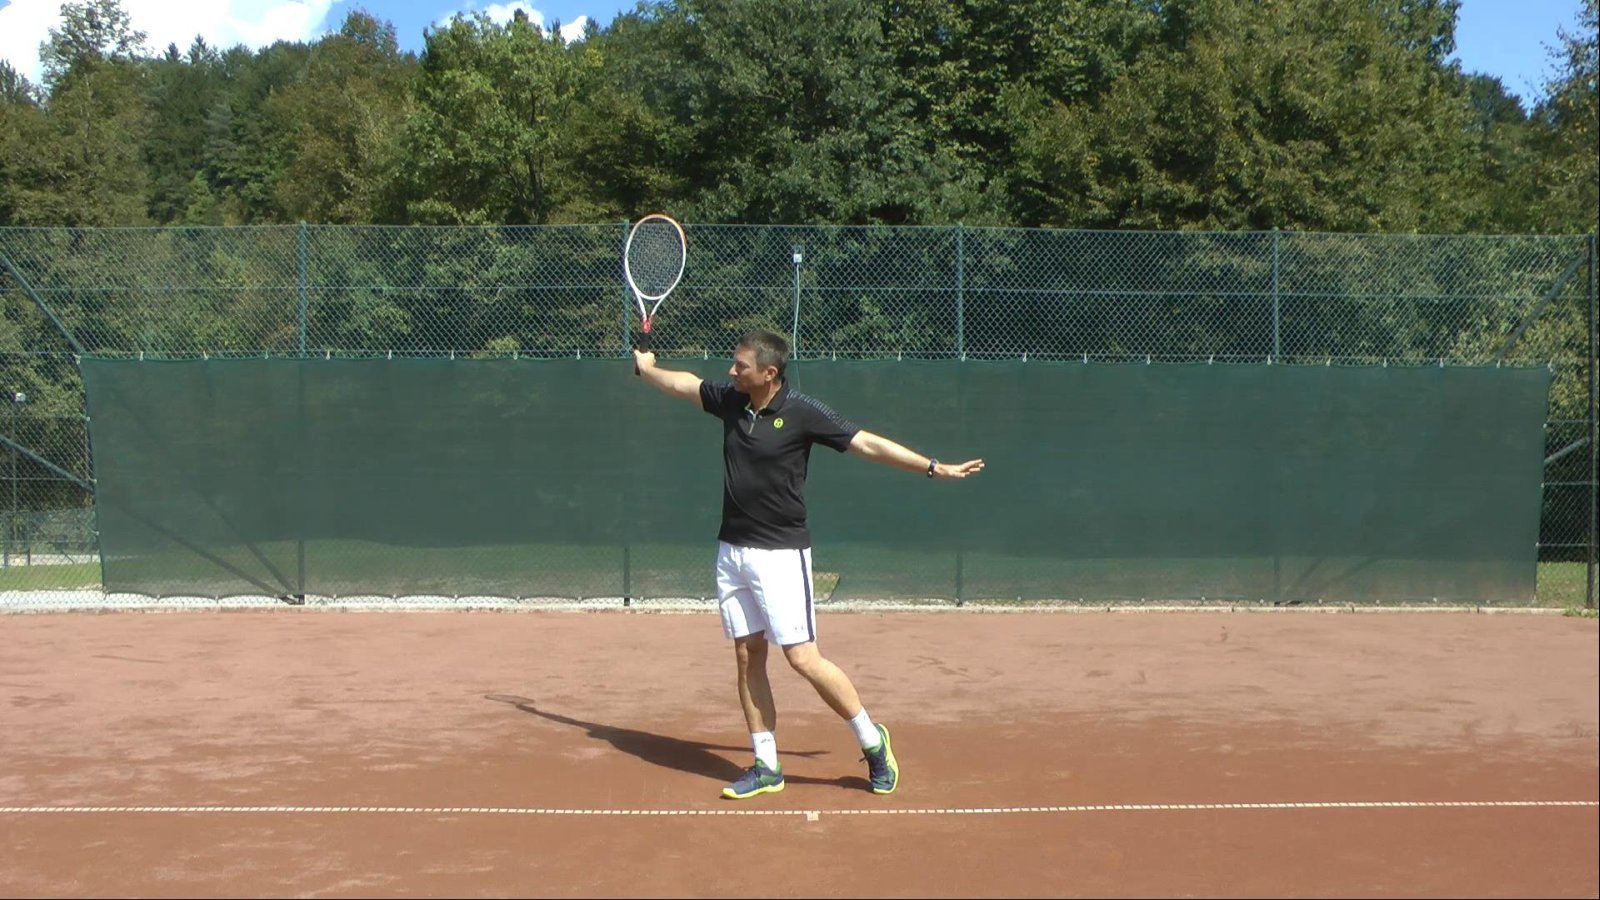
As for the follow-through, your guidelines are that you should end up with an extended arm that is in line with the non-dominant arm, which extends in the opposite direction. The racket should be in a vertical position.

Simple guidelines for one-handed backhand finish.
Make sure to control the follow-through and hold it for 2-3 seconds after you’ve hit the ball, as you are learning a new technique (or correcting it) and you’re not actually playing.
The goal is to execute enough repetitions over a longer period of time so that the follow-through movement automates and you won’t have to think about it anymore.
Summary
This simple tutorial for learning a one-handed backhand tennis stroke can help you get started quickly and can also serve as a correctional exercise when you struggle with your technique or timing.
Total tennis beginners should actually start playing the one-handed backhand from point of contact first and then progress to the steps shown in this article.
Once you can execute this simple backhand well on an easy incoming ball, you can start adding a bit more complexity, like lifting the racket head up more, making sure there is enough wrist lag in the backswing, and so on.
All of this was explained in the main One-Handed Backhand Technique article with much more detail, so I recommend you continue your backhand journey there.
Hi Tomas,
Thanks for sharing this useful backhand lessons. I’m a recreational player and your tennis techniques continuously helps improve my game.
You’re welcome, Greg, glad to hear the simple backhand tutorial helps!
Tomaz, really great illustration. Helps so much. Any tips for practicing reinforcement of non-dominant arm going backward on uncoil forward?
Thanks, Tim!
You can use a resistance band like you see in the pic below, that’s one of the more effective ways.
Hi, I read tutorial that explained for beginners it is recommended to use a bigger head size racket like 100 sq in or more..
I also read for one handed backhand it is recommended to use smaller head size like 98 sq in..
so how about a beginner that chose to learn one handed backhand? better uses 100 or 98 head size racket
Hi Leon, yes, beginners should use a bigger head with a bigger sweet spot. Whether a forehand or a backhand or a volley, smaller or bigger racket head affect them the same.
The smaller the racket head, the harder it is to hit the sweet spot. So for a beginner bigger racket head, the stroke doesn’t matter…